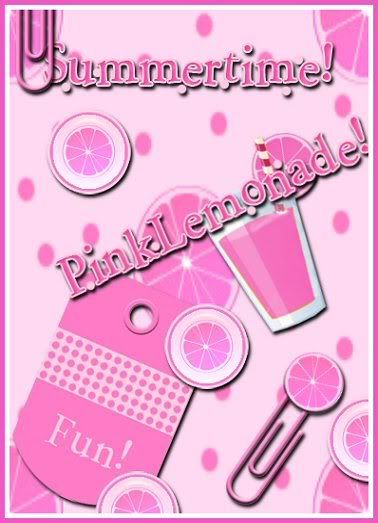
I did manage (in the months I was away) to create some digital ATC cards...
only about a handful - but at least I did something...so for me - that was a brave step..(trust me).
I will admit that I am a pink fanatic - love love love pink - so this lemonade fit right in...I also like it because it is so bright and it does remind me of summer - so I thought I would share it here since summer seems to have moved on for most of us. (I will include it as my entry for CED).
Besides all the great football games I managed to watch this past weekend,
I have been getting lost in surfing the web and going over old files of mine that I did manage to save...it has been quite interesting..
I found this craft project in my files and I thought I would share it here...too fun!!
Make Your Own Marbelized Paper
This is a neat way to make your own cards or stationary with that cool marbled effect. You will need:- a large bottle of liquid starch
- severaal colors of acrylic paints
- two large flat baking dishes or dish pans
- a few custard cups
- small bowls or empty margarine containers
- paint brushes
- a variety of tools to create patterns in the paint (such as a feather, nut pick, ice pick, coiled rubber cord, wire whisk, potato masher, fork or wide-toothed hair comb)
Fill one baking dish or dish pan with starch to a depth of about 2 inches; fill the second one with cool water. In custard cups or other small containers, dilute each paint color until it just barely drips from a brush. Then drip colors on top of the starch until the surface of the starch is nearly covered.
Create a pattern in the starch with one or many of your tools. Move the desired tool through the paint in straight lines, at geometric angels, in circles, or in rays. Even if you leave the dots undisturbed to produce a pebble pattern, no two patterns will be the same. Feel free to experiment and be creative!
Hold a card or piece of paper by opposite corners and bend it gently so the paper sags slightly. Lay it gently on top of the paint, but do not allow the paper to sink below the surface. Immediately lift paper back out of the starch. Hold it over the dish and allow the paint to drip off for a few seconds.
Rinse paper in the dish of plain water. Lift paper out of water and allow it to drip for about 15 seconds or until most of the water has dripped off. Lay the paper flat, paint side up, on a work surface to dry.
Making your own paper like this for cards and stationary is too much fun...my kids used to do this for gifts at Christmas...I hope someone else finds it useful - lol.


5 comments:
OMW!!!!! I didn't know that you could do things like that with papers already made!!!!!! That's so awesome!!!!! Back a while ago I had decided that i needed to learn to make my own paper so I could make cool looks like this, but I never got the equipment...
This looks SO much easier, and more fun too!!!!!!!!
I've been hearing so much about ATC lately, very cool! And marbelized paper? Again, very cool.
Thank you, the leaves are quite wonderful to watch. :)
Hi Ellie! Love all your craft instructions...I'm always on the lookout for inspiration.
And, thanks so much for taking the time to enter my blog giveaway. Your comments and support are much appreciated. All the best! :)
Hi Ellie! Thanks for sharing the technique, I will try it out for sure.......sounds like fun for kids.
Pink...., since Maya is born I kind of like pink too.....must be the girly side of me coming out, because I'm kind of the sporty type not wearing too much girly stuff normally. Funny! Anyway, I like your 'pink'ATC, reminds me on summer too and sigh, that is so far away again.......
Have a wonderful day, smiles, Anke ;)
Post a Comment